Tag Archives: intake wizard

Add a new client (Create a case file + service file)

  1. First, perform a search to ensure that the client is not already in the system.
  2. If the client does not exist, you may add a client (and case file) from the search page by clicking “Intake Wiz”.

    "Intake Wiz" button on search page

  3. Alternatively, you may add a new client by clicking “Intake Wizard” from the home page under the “Links” tab.

    "Links" menu

  4. Go through the Intake Wizard: enter the client’s first and last name, any known “other information”, any known referral information, and case open date. Click “next” between pages.
  5. Click “finish” when all known information is completed. You will now see the Case profile page. Note: Information may be edited, added, or removed at a later date..

    case file blank

  6. You will now add a Service File. About halfway down the Case file page, you will see the words “Service File”. Click “Add Service File”, which is in small black letters to the far right of the “Service File” heading.
  7. Fill in the following Service File information: Service, Primary Worker, Start Date (you may enter an earlier date).

    add service file

  8. Click “save” when all the information is entered. The Service File page will load.
  9. You have now completed adding a new client. From here you can add a biannual or return to the home page to add another client. If you are a primary worker of the client that you have just added, you will notice that the client shows up under your “Case Load” on the home page.

Error message: ‘Use Contact’ checkbox

Error message:

Error message: The main contact must have its 'use contact' checkbox checked.

Information:

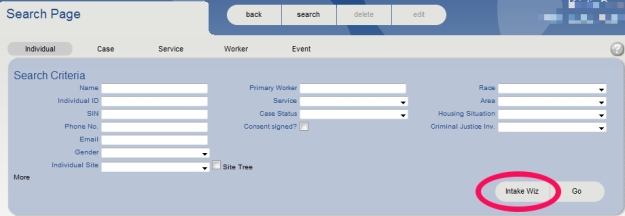
This error message refers to the “Contact and Communication Instructions” section of the Intake Wizard.

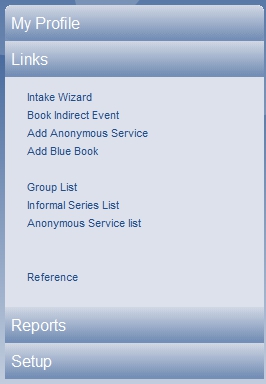
This message occurs when a new user is added via the Intake Wizard and the proper radio buttons are not selected. The above message appears when the user clicks “next” after this first page.

Resolution:

Note: Adding contact information is at the user’s discretion. Please remember this site is accessible by staff outside of your organization. Providing contact information is NOT required by the Alberta PCAP Council.

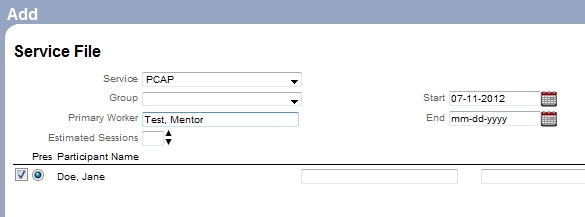
If you have added contact information for the new client, you must click on two different additional fields. Each ‘line’ of contact information consists of four parts:

contact and communication instructions numbered

1. a radio button (indicates whether this contact information is the primary contact number)

2. a pre-filled text field (where contact information is entered)

3. a checkbox (indicates whether this contact number is in use)

4. an empty text field (allows user to write notes about the contact number ex. “call after 5pm”)

If you enter contact information, you will need to select (1) and (3), as well. The “‘Use contact’ checkbox unchecked” error message typically appears when users forget to select the checkbox (3).

filled contact and comm

If you enter multiple contact numbers (ex. home number, cell number, work number), only one checkbox needs to be selected.